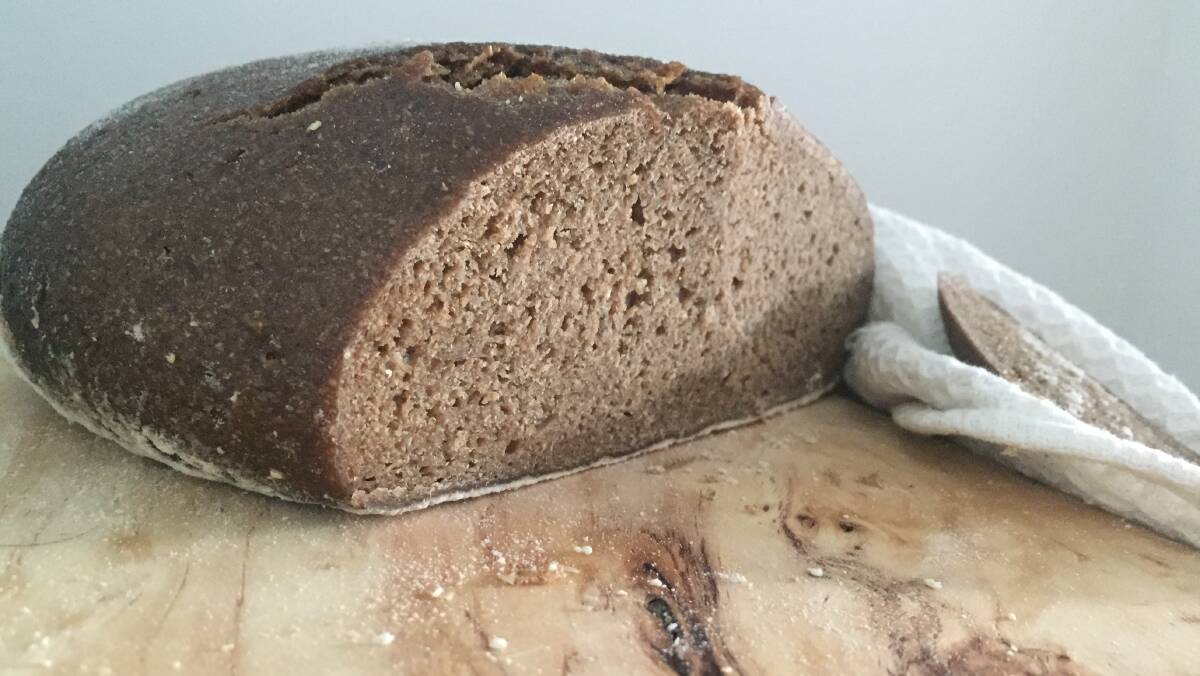
There is something wholesome and appealing about the kind of self-sufficient person who bakes their own bread.
Subscribe now for unlimited access.
or signup to continue reading
Someone able to provide for themselves and their loved ones using an age-old method so simple, yet so expensive when replicated in the stores.
So during my iso quest for self improvement I've gotten into baking sourdough. It turns out I am not alone.
Social media is teaming with fellow first-time bakers who, like me, have used the pandemic period as a moment to master the art of the humble loaf.
Google Trends show a 400 per cent spike in searches for sourdough recipes in Australia since March.
I expect, like me, the other novice bakers fancied themselves the types to bake bread prior to coronavirus.
I suspect, had it not been for the pandemic, the other newbies and I may never have actually found the time.

Canberra had only been in lockdown for about 24 hours when I started looking for "starter" to get my sourdough dreams off the ground.
Gratefully, chef Frankie Bodel had dropped $10 jars of the stuff into The Essential Ingredient in Kingston on the morning I made contact with her through Facebook.
The manager at the Belconnen Markets Foodish cooking school began selling her 35-year-old wild yeast when classes stopped on March 18 due to the coronavirus.
The former chef has been selling both fresh and dehydrated starter, made by the fermentation of dough using naturally occurring lactobacilli and yeast, ever since.
In addition to the starter bags she has been posting all over the country and the starter jars she has shipped across Canberra, she has provided many coronavirus bakers near and far with step-by-step instructions on how to bake their best bread.
Her tip: use strong bread or pizza flour. My tip: avoid the supermarkets and stock up at a Scoop Wholefoods or somewhere similar instead.
Unlike Coles and Woolworths' flour isles, the Kingston store was well-stocked during that first outing and has been on my food-procurement missions since.
On advice from the staff, I opted for a "more forgiving" rye flour for my first go.
Because I don't trust myself to follow recipes, I put a phone call in to my brother-in-law who I trust more than anyone in the kitchen. He is the kind of fermenting, pickling, baking person I'd like to be. As expected, he had the patience and the right advice to walk me through my first bread attempt.
This is what we went with:
1. Remove starter from the fridge and warm until active.
2. Start with a tablespoon and add 75g of water and 50g of flour in a medium bowl and mix until well combined. Rest inside the fridge for six hours covered in a wet tea towel.
3. Continue to add 75g of water and 50g of flour in stages until you have a 400g levian. Resting for six hours in between.
4. Leave the levian you've now created covered in the fridge overnight.
5. To make the dough, add 1000g of flour, 580g of water and 20g of salt to the active levian. Mix well and leave inside the fridge for three hours covered in a wet tea towel.

This was about the stage I decided until I am forced to work from home again while rearing babies or caring for an elderly relative, I would probably never be the wholesome baker I dreamed of becoming.
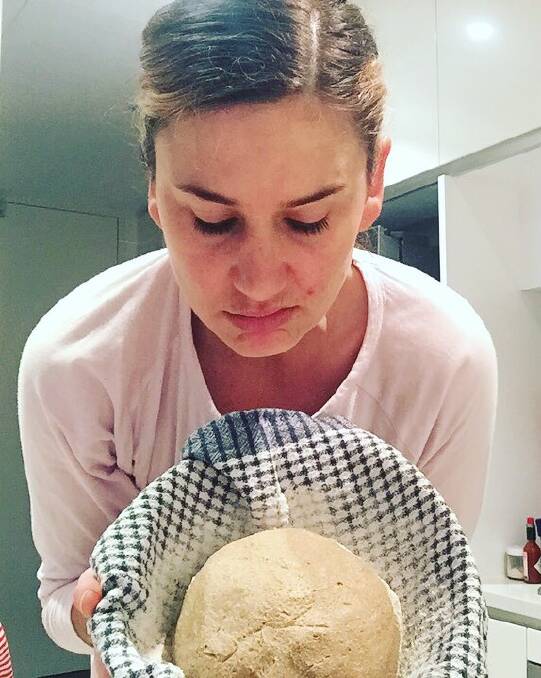
Despite this, I did find the hourly nurturing of my bread baby strangely satisfying. I recommend the next part be attempted with a glass of wine while on a Skype call.
6. Out of the fridge, use wet hands to knead the dough for five minutes and then rest for five minutes - repeat three times.
7. Once that's done, use the fold technique - pick up the top side of the dough, lift it up and fold it back on itself - to develop strength in the dough. Pro tip: See YouTube for demonstrations. Fold for 30 minutes, rest for 30 minutes, fold for 30 minutes.
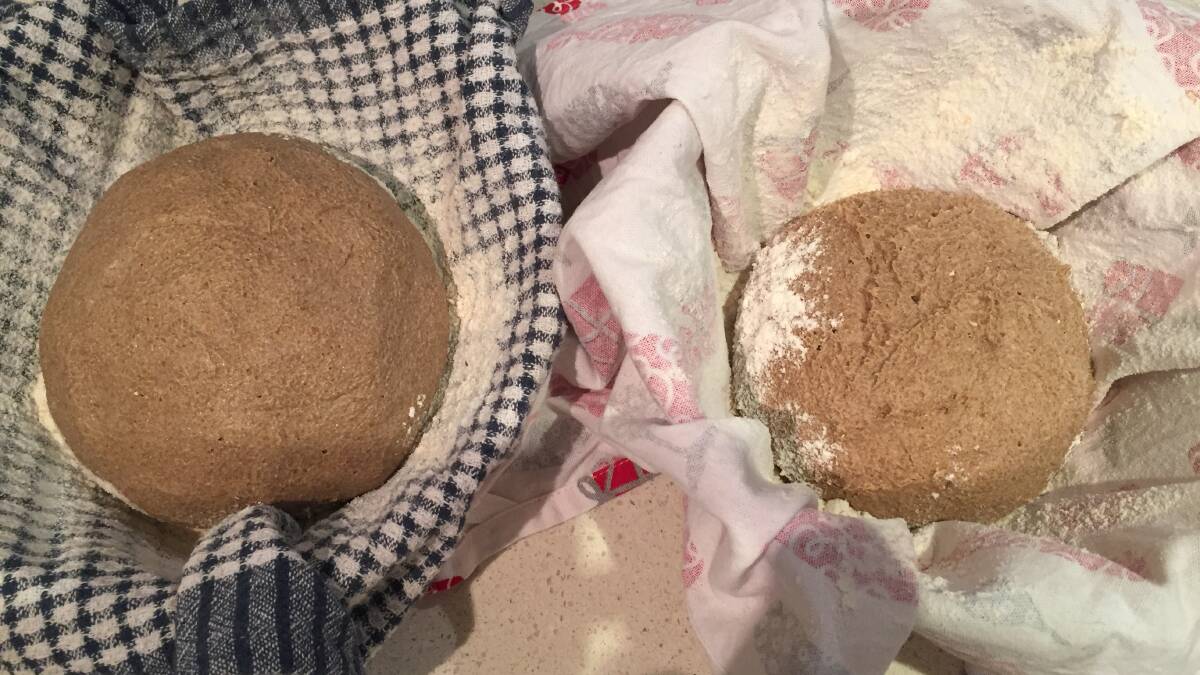
8. Split the dough in two and put in heavily-floured bread proofing baskets overnight. If, like me, you get to this stage of the recipe and realise you don't have a proofing basket, pop a heavily-floured tea towel in a bowl and use that in place of a Banneton.
9. The following day, preheat the oven to 250C.
10. Pop your loaf inside a cast-iron pot and pop her on the middle shelf. If you don't have one of those, line a tray with baking paper and use a casserole dish filled with boiling water to suck up the moisture inside the oven. Casserole dish goes on the bottom, dough goes somewhere above.
11. Bake inside cast-iron pot with lid for 25 minutes, without lid for eight minutes. Bake on tray for 30 minutes.
12. When it's done, transfer to a wire rack and set aside to cool before slicing.
From start to finish, it took me three days to experience the satisfaction of slightly-sour smelling home-cooking wafting down the corridor from my apartment.
Having previously been the neighbour opening the door to the store bought stuff, which admittedly was always a lot better than mine, I hoped everyone I shared a residence with was working-from-home to smell how good I'd done.
Despite the mess I made, the confusion I endured and the extra weight I am carrying after consuming both loaves myself, my sourdough adventures have endured.
Breadmaking gave me a reason to break from work, a reason to badger my brother-in-law in hourly increments and a reason to brag to my less successful friends on Instagram.
Unlike my daily-yoga practice, I've continued down this path of self-isolation self-improvement. Kimchi, you're next.


